
There’s something about summer that makes grilling feel inevitable. Longer days, pulling into the yard, the certain joy of cooking outside with a cold one in your hand—it all adds up to one of my favorite rhythms of the year. In our family, the grill has become less about who is “in charge” of dinner and more about the tradition of being outside together, enjoying the process instead of rushing to get food on the table.

7 Grilling Tips Every Home Cook Should Know Before Summer
For years, I let the grill feel like someone else’s garden. But when I learned a few basic techniques, I realized it could be one of the easiest—and most satisfying—cooking methods of the summer. With the right tools, a little confidence, and a general understanding of heat, time, and preparation, you have everything you need. Previously, I shared the seven rules of grilling that changed the way I cook outdoors.
1. Relax
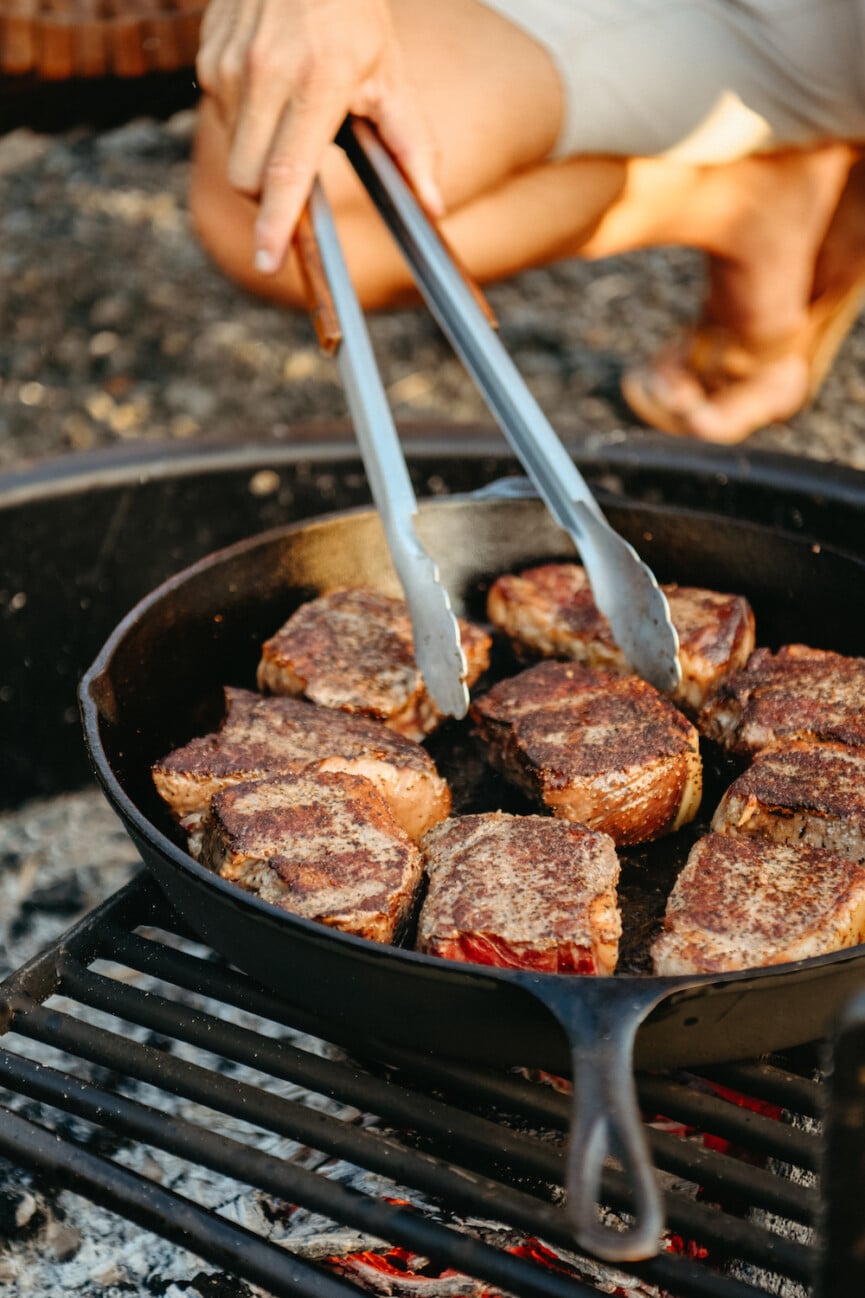
When it comes to chicken, beef, or pork, take it out of the fridge about 30 minutes before it hits the grill. Adding ice-cold meat to a hot grill can cause the outside to burn before the inside has a chance to cook. Allowing it closer to room temperature helps it cook more evenly and gives you a better final texture.
When the meat comes off the grill, don’t rush to cut it. Let it sit on the lined plate for 5 to 10 minutes so the juices have time to redistribute instead of the second you cut it. It’s a small step that makes grilled chicken, pork, and pork appear juicier and more delicious.
2. Prepare the Grill
While your meat comes to room temperature, prepare the grill. Start by preheating it with the lid closed for at least 15 minutes so it has time to reach the right temperature—a hot grate helps create that nice sear and keeps food from sticking. When it’s hot, use a grill brush to remove any bits left after your last cooking. Starting with clean grates is one of the easiest ways to get better flavor, cleaner grill marks, and more even cooking.
3. Choose Your Heat
There are two types of heat that you should know before you start applying: direct and indirect. Direct heat means your food is placed over the flame, making it perfect for anything that cooks quickly and benefits from a good sear, such as steaks, burgers, chicken breasts, shrimp, vegetables, and anything that can cook in 15 minutes or less.
Indirect heat, sometimes called radiant heat, is best for larger cuts of meat, bone-in pieces, or anything that needs a long cooking time without drying out. Think whole chicken, ribs, thick pork chops, or vegetables like eggplant that benefit from a slow process to become tender and delicious. If your food starts to cook quickly on the outside before it’s done inside, or if flare-ups occur, simply move it to the cooler part of the grill to control and cook.
For the perfect New York Strip Steak, I sear it over direct heat on each side, then move to indirect heat to finish the final minutes of cooking. Since my vegetables cook quickly, most of them can be cooked from start to finish with direct heat only.
4. It’s All in the Cut
My favorite way to eat vegetables is with a little char, and almost all of them get better after a quick toss on the grill. A few heartier vegetables benefit from being precooked or lightly cooked—think carrots, sweet potatoes, and winter squash—but for most summer vegetables, all you need is a drizzle of olive oil, a generous sprinkling of salt, and your favorite seasoning.
That being said, the way you cut the vegetables is important. Make sure the pieces are big enough that they won’t fall through the grill grates, and cut everything into uniform sizes so they cook at the same speed. Asparagus and green beans can be left whole, zucchini and eggplant are best cut into long spears, and tomatoes and bell peppers can simply be halved and set aside to heat.
Roasted vegetables are my go-to side for summer because they’re easy, colorful, and work with anything else on the table. Serve them as is, pile them on a platter, or make them feel a little special with a dipping sauce like chimichurri, pesto, romesco, or a light citrus aioli.
5. Put a Lid on It
I used to get confused about whether to grill with the lid open or closed. Then, during a cooking class years ago, the teacher explained it in a way that finally clicked: keeping the lid closed helps trap heat and that delicious smokiness that happens when the oils and juices hit the flame and evaporate.
What is the lesson? Keep the lid down as much as possible. It helps hold heat, encourages even cooking, and gives grilled meats, vegetables, and seafood that smoky, just-the-grill flavor we all want.
6. Resist the Desire to Repent
You know when someone stands over the grill, tongs in hand, flipping everything every few seconds? Try not to do that. Letting your food sit in one place gives it time to develop that delicious caramelization, which is the whole point of grilling in the first place.
Resist the urge to move or flip your food more often, and you’ll be rewarded with better flavor, better grill marks, and that delicious, crispy crust we all love. As a general rule, turn once when food is naturally removed from the grates—if it sticks, it probably needs another minute.
7. You Can Roast Almost Anything (Even Sugar)
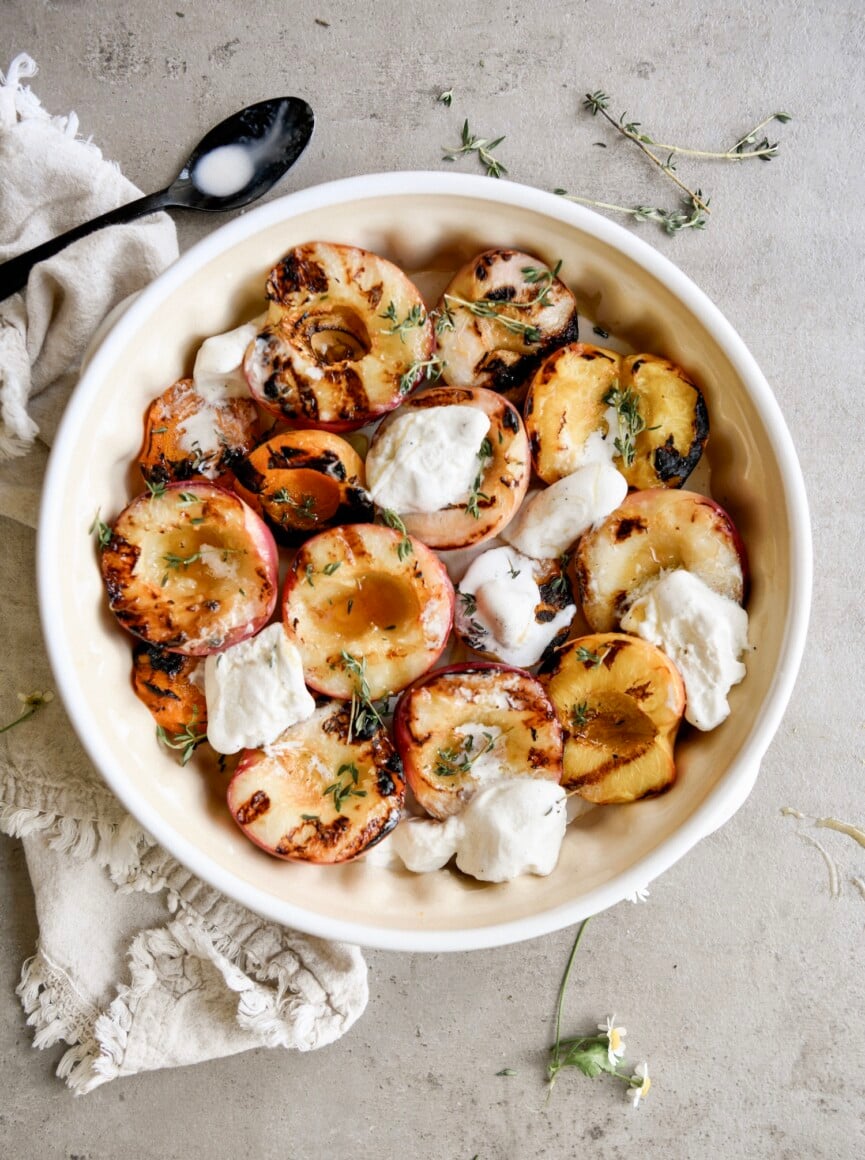
It’s fun to try unexpected foods on the grill, and it turns out you can grill more than meat and vegetables. My current favorite summer dessert is crushed peaches with ice cream, and it’s a great alternative to almost any stone fruit as the heat brings out its natural sweetness and helps it hold up well on the grill.
You can also grill slices of pound cake, foil-wrapped s’mores, or oranges for cocktails and desserts. Ending the evening with something delicious over the flame feels a little unexpected in the best way, and it’s one reminder that grilling is as much about the tradition as it is about the recipe.
There’s something about a night around the grill that makes me want to put my phone down and enjoy some simple summer moments with family and friends. So think of this as your cue to try something new, keep it simple, and make a few sweet memories next season.
This post was last updated on June 14, 2026, to include new information.
Grilled New York Strip Steak with Chimichurri
Works 4
7 Cooking Rules Every Summer Cook Should Know
Ingredients
Instructions
- One hour before grilling, remove the steaks from the fridge and allow to come to room temperature.
- Preheat grill to 350 degrees. Pat steaks dry with paper towels, brush both sides with olive oil, then season liberally on all sides with Montreal Steak Seasoning.
- Place the steaks on the grill and close the hood, watching to make sure it maintains an even temperature of 350 degrees. Check from time to time to make sure there are no flare-ups – if there are, use tongs to carefully move the stews to the cooler part of the grate.
- Cook the steaks for 8 minutes on each side, turning only once, for medium rare. Remove to a cutting board and let rest for 10 minutes before cutting into 1″ strips. Eat!
“Shortcut” Chimichurri
Ingredients
Instructions
Add all the chimichurri ingredients to a blender and puree until smooth. I like to leave the nice greens of fresh cilantro showing. Transfer to a small bowl and serve extra alongside the sweet potatoes and steak.
!function(e,t,n,c,o,a,f){e.fbq||(o=e.fbq=function(){o.callMethod?o.callMethod.apply(o,arguments):o.queue.push(arguments)},e._fbq||(e._fbq=o),o.push=o,o.loaded=!0,o.version=”2.0″,o.queue=[],(a=t.createElement(n)).async=!0,a.src=”https://connect.facebook.net/en_US/fbevents.js”,(f=t.getElementsByTagName(n)[0]).parentNode.insertBefore(a,f))}(window,document,”script”),fbq(“init”,”350624676535659″),fbq(“track”,”PageView”);


