")
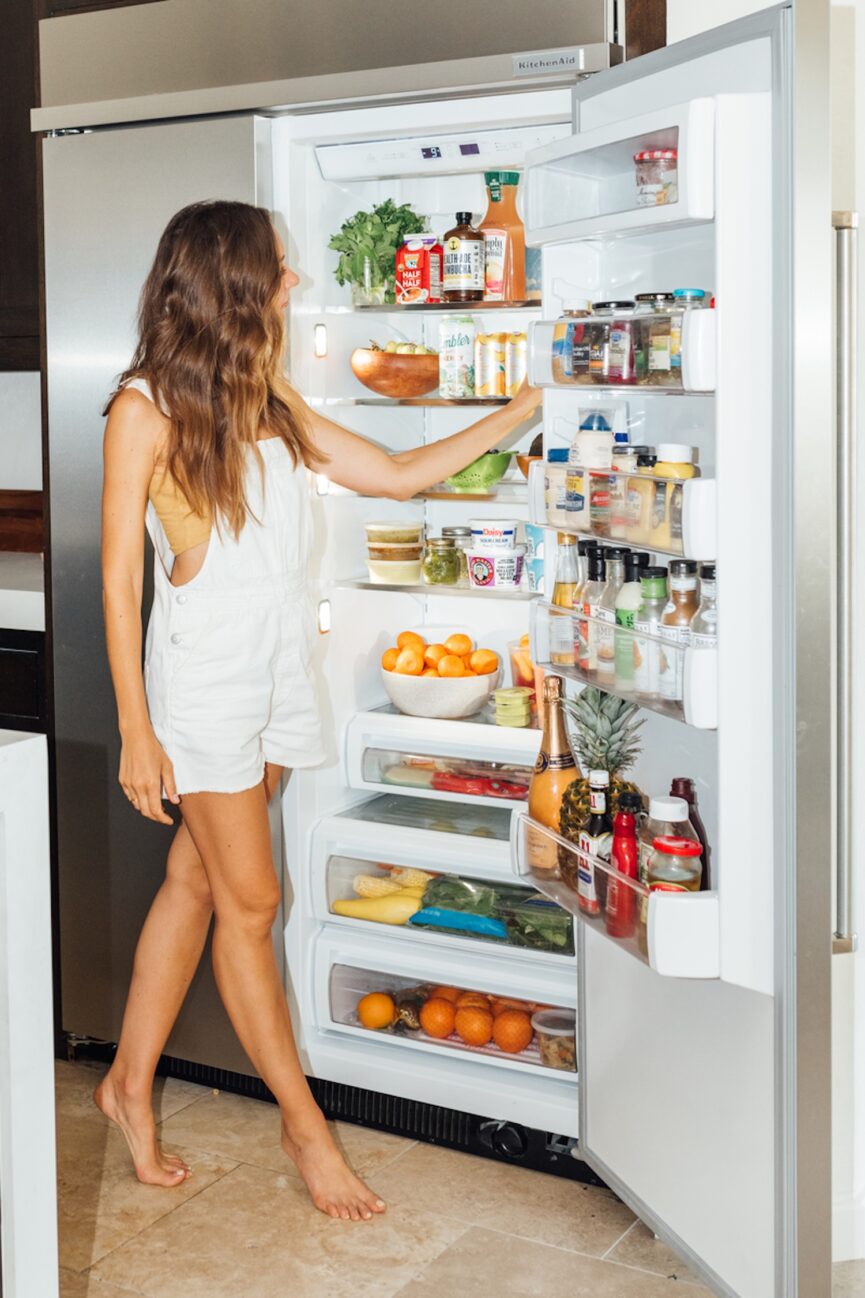
Spring always brings the urge to reset our spaces: open the windows, wipe down the counters, and start over in the kitchen. One of the most satisfying places to start? Your refrigerator.
An organized refrigerator doesn’t just look better when you open the door—it helps reduce food waste, keep produce fresher for longer, and make everyday cooking a lot easier. If everything has a place, and you can clearly see what you have, you are more likely to use the ingredients you buy instead of forgetting them in the back of the cupboard. (Please tell me you have been there too…)
How to Organize Your Fridge (Step by Step)
The key to organizing your refrigerator is to create a plan that works with your real life. Your refrigerator is constantly changing with every grocery move, so the goal is to create simple areas and storage practices that keep things fresh, visible, and easy to maintain.
Ahead, we’ll go over exactly how to organize your refrigerator, and the best ways to store produce, herbs, and everyday ingredients so they last as long as possible.
Start by resetting the Refrigerator
Before you can organize your refrigerator, you need a clean slate. Think of this step as a deep cleaning exercise and a reset—an opportunity to look at what you have and create space for food that will actually be used.
Set aside for about 20-30 minutes and treat it as a mini kitchen refresher. Put on a favorite playlist and start by taking everything out of the fridge to see exactly what you’re working with.
Step 1: Empty the Freezer Completely
Take it all out—yes, everything. This makes it much easier to spot out-of-date items, forgotten leftovers, or production that is past its prime. As you remove items, group similar foods together on the counter so you can quickly assess what you have.
Step 2: Toss or Compost Anything Past Its Prime
This is your time to be honest about what is still usable. Check expiration dates, smell test leftovers, and compost any product beyond storage. It’s common to find a few forgotten items—this step alone often helps reduce food waste going forward.
Step 3: Give the Refrigerator a Quick Clean
With the shelves empty, wipe down all surfaces—including shelves, drawers, door jambs, and handles. A simple non-toxic cleanser or warm water with a little dish soap works well here. Pay close attention to sticky spills or produce drawers where moisture can collect.
Step 4: Take Inventory Before Restoring Everything
Before putting things back in the fridge, take a quick mental inventory. Ask yourself:
- What ingredients do I reach for most often?
- Which product needs to be used immediately?
- Are there duplicates of anything I forgot I had?
This little break helps you create a system that reflects how you actually cook and eat.
Step 5: Reset Purpose
Now that everything is clean and visible, you’re ready to start planning. You should aim to create simple spaces and storage practices that make ingredients easy to find and use.
If your refrigerator is set up thoughtfully, you’ll spend less time searching for ingredients, waste less food, and make everyday cooking seem less of a chore. Because opening your refrigerator should feel calm, not chaotic—and a simple reset makes that possible.
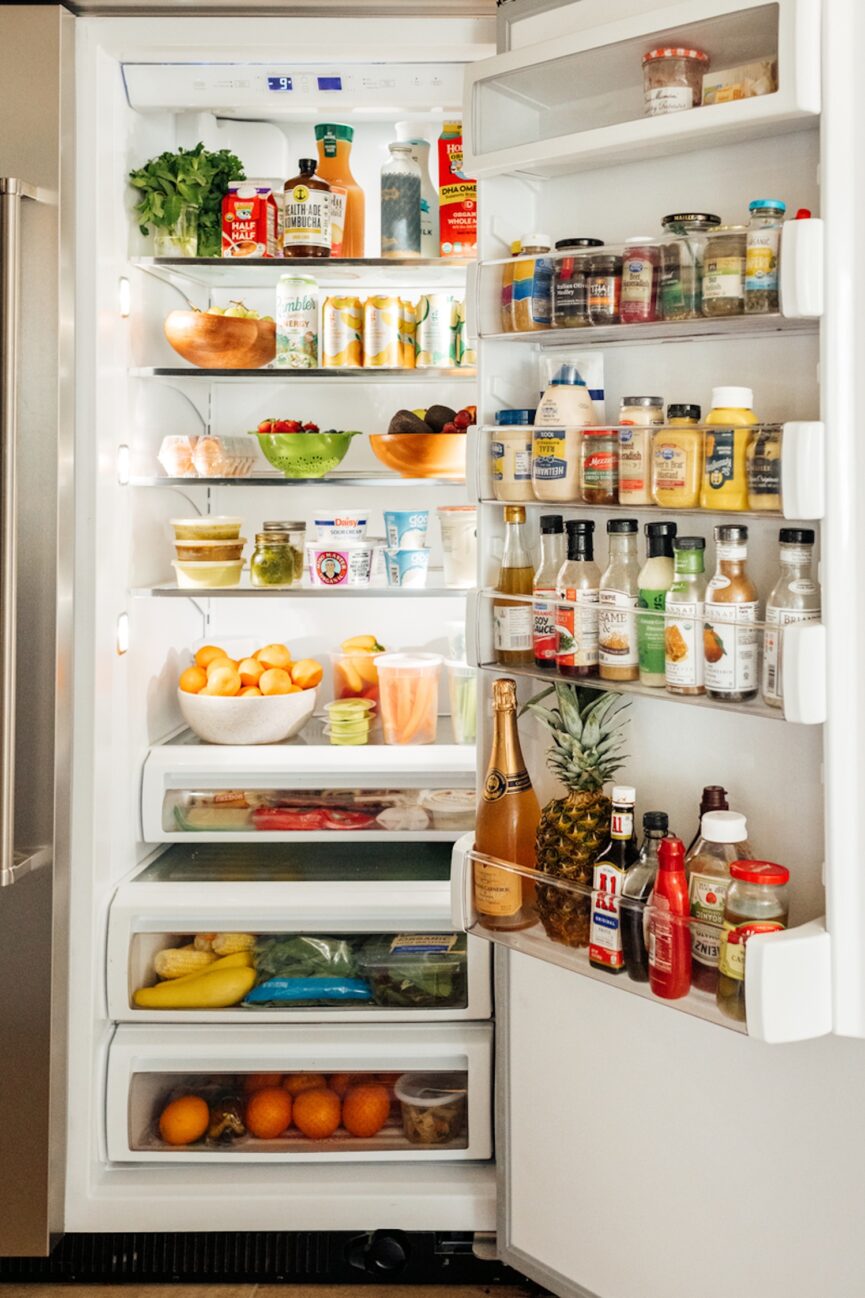
Understand Your Fridge’s Spaces (and What You Can Store There)
One of the most useful things to understand when learning how to organize your fridge is that not all shelves are at the same temperature. Refrigerators naturally create warm and cold zones depending on how the air moves, and keeping food in the right place can greatly extend how long ingredients stay fresh.
Once you know where different foods belong, organizing your refrigerator becomes much easier—and more efficient.

Top Shelves: Ready-to-Eat Foods
Top shelves tend to maintain a consistent temperature, making them ideal for foods that don’t require additional cooking.
Save here:
- the rest
- prepared ingredients
- yogurt
- cooked cereal
- drinks
Storing ready-to-eat foods on higher shelves also makes them easier to see and grab, which helps prevent leftovers from being forgotten in the back of the refrigerator.
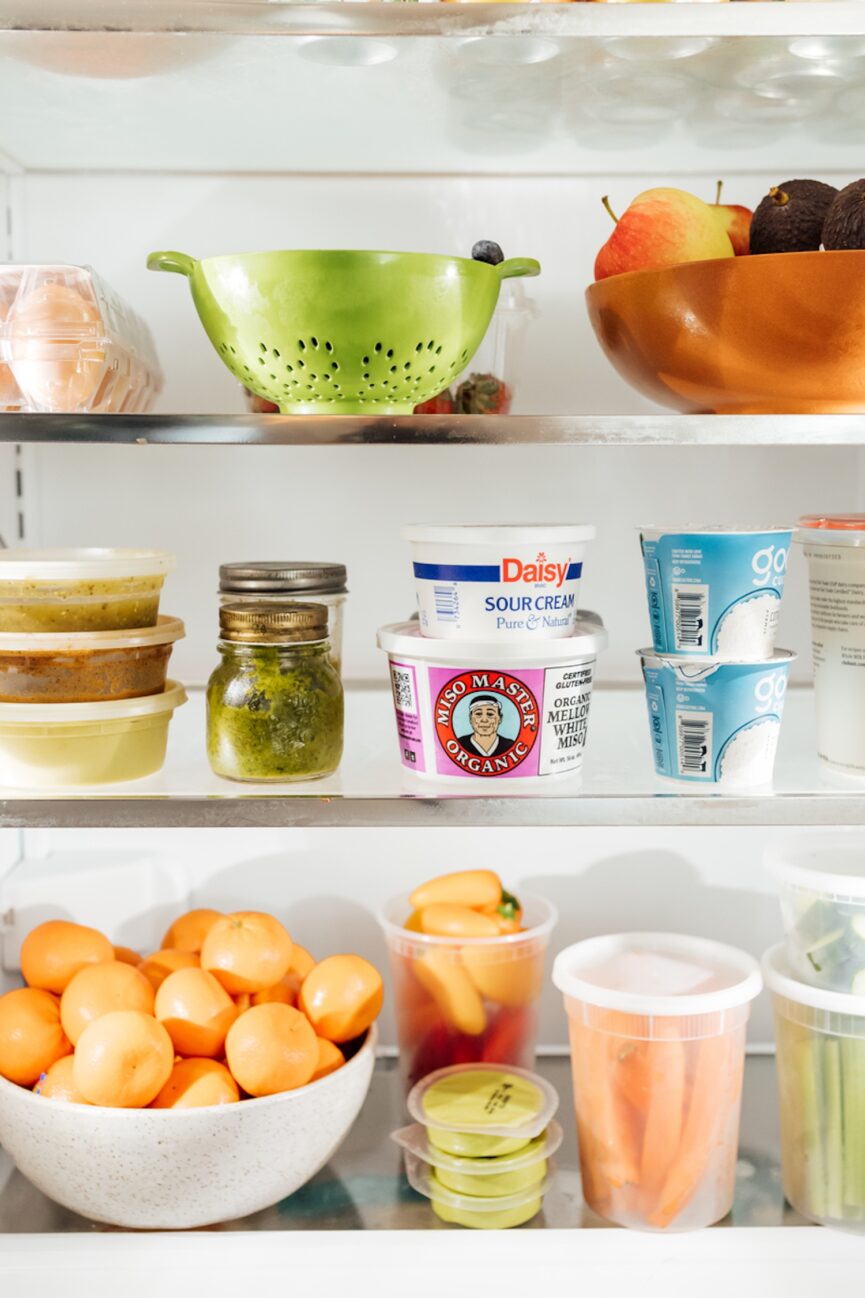
Middle Shelves: Dairy and Everyday Basics
The middle section of your refrigerator is a great place for ingredients you reach for frequently.
Save here:
- milk
- cheese
- butter
- eggs
- sauces and spreads
These items stay fresh longer if they are stored in a stable center of the refrigerator instead of the door, where the temperature fluctuates every time it is opened.
Bottom Shelf: The Coldest Place
The lowest shelf is usually the coldest part of the refrigerator, making it a safe place for perishable foods.
Save here:
- raw meat
- chickens
- seafood
- eggs (for maximum freshness)
Keeping this food on the bottom shelf also prevents any accidental dripping from contaminating other ingredients.

Crisper Drawers: Fruit and vegetables
The bottom drawers of your refrigerator are designed to control humidity, helping produce stay fresher for longer.
Simple rule: one fruit drawer and one vegetable drawer. Many fruits release ethylene gas, which accelerates ripening and can cause nearby vegetables to spoil quickly.
Best practices:
- Store green vegetables and herbs in a cupboard with high humidity
- Store fruit in a cupboard with low humidity
- Keep the product loose or slightly wrapped to allow air to circulate
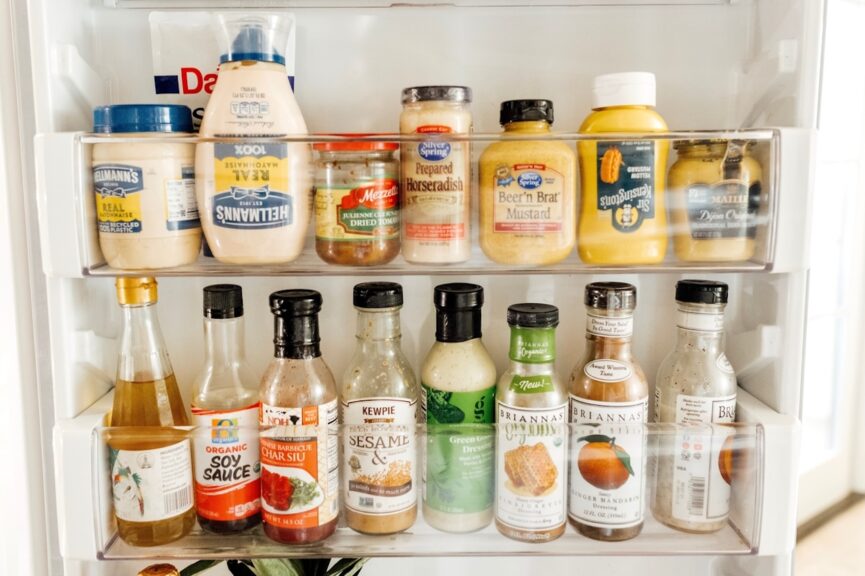
Department: Condiments and beverages
The refrigerator door is a very warm place because it is exposed to temperature changes every time it is opened. For that reason, it is best used for things that are not volatile in nature.
Save here:
- spices
- salad dressing
- jam
- drinks
Avoid storing milk or eggs here—they will stay fresh longer inside the main body of the fridge.
Tips for Storing Food to Last Longer (and Prevent Wasting)
One of the biggest reasons food goes to waste isn’t that we buy the wrong ingredients—it’s that we store them incorrectly. When food is placed in the wrong areas of the refrigerator or stored in the wrong containers, it spoils much faster than expected.
A few small storage habits can extend the life of your groceries and help ensure that everything you buy is actually used.
Keep Product Visible
Out of sight usually means out of mind. When fruits and vegetables disappear into the back of the cupboard, it’s easy to forget they’re there until it’s too late. Try placing produce that needs to be used soon in the front of your refrigerator or in the small “use first” section. This easy-to-use interface helps you organize meals around ingredients at a high speed.
Separate Fruits and Vegetables
Many fruits release ethylene gas, which accelerates ripening and can cause nearby vegetables to spoil quickly. For best results:
- Store fruits and vegetables in separate cabinets
- Keep ethylene-producing fruits away from leafy greens
Common fruits that produce ethylene include apples, bananas, avocados, and peaches.
Preserve Herbs Like Fresh Flowers
Fresh herbs can last longer if properly stored.
Because soft herbs like parsley, cilantro, and basil, cut the stems and place them upright in a small pot with a little water. Cover well with a bag and store in the refrigerator.
Because strong herbs such as rosemary, thyme, and sage, wrap them gently in a damp paper towel and store in a container.
Store Milk and Eggs in the Main Body of the Freezer
Most refrigerators include egg trays on the door, but that is actually one of the warmest places in the fridge. Dairy products and eggs stay fresh when stored on middle shelves, where temperatures are equal.
Use Clear Leftover Containers
Leftovers are one of the biggest sources of food waste simply because they get buried in the fridge. Using clear containers makes it easy to see what you have and reminds you to use it before it goes bad.
Follow the “First In, First Out” Rule
Professional kitchens rely on a simple system: first in, first out. When unpacking, move the old items to the front and put the new items behind them. That way, ingredients are used in the order they were purchased.
When ingredients are properly stored and easy to find, you naturally waste less food—and cooking at home becomes much easier.
Weekly 5-Minute Refrigerator Reset
When your refrigerator changes every time you buy groceries, cook meals, or store leftovers, the most efficient systems are the ones that are easy to maintain. This is where the weekly quick reset comes in. Taking just five minutes once a week can keep your fridge organized, reduce food waste, and make meal planning a lot easier.
Try this simple routine before your next grocery shopping trip:
1. Throw Anything Past Its Prime. Check for expired items, forgotten leftovers, or unusable product. Compost what you can and make room for fresh ingredients.
2. Move Old Food Forward. Follow the “first in, first out” rule by moving the oldest ingredients to the front of the refrigerator to be used first.
3. Wipe Up Any Spills or Sticky Spots. A quick wipe down of shelves or drawers keeps small messes from turning into big cleaning projects later.
4. Check Your Product Drawers. Take a quick look at the fruits and vegetables and plan to use whatever comes closest. This can easily inspire a light dinner or smoothie.
5. Take Inventory Before Shopping. Being aware of what you already have on hand helps prevent duplicate purchases and encourages you to build meals around ingredients you already have in your fridge.
Over time, this five-minute practice makes a big difference. Your refrigerator stays organized, ingredients stay fresher for longer, and cooking at home becomes a lot easier.
Because when your fridge works with you, everything in the kitchen starts to feel easier. Cooking becomes easier, groceries last longer, and the ingredients you bring home finally get a chance to shine.
This post was last updated on March 8, 2026, to include new information.
!function(e,t,n,c,o,a,f){e.fbq||(o=e.fbq=function(){o.callMethod?o.callMethod.apply(o,arguments):o.queue.push(arguments)},e._fbq||(e._fbq=o),o.push=o,o.loaded=!0,o.version=”2.0″,o.queue=[],(a=t.createElement(n)).async=!0,a.src=”https://connect.facebook.net/en_US/fbevents.js”,(f=t.getElementsByTagName(n)[0]).parentNode.insertBefore(a,f))}(window,document,”script”),fbq(“init”,”350624676535659″),fbq(“track”,”PageView”);


